The ballroom makeover is totes happening--as in paint is drying even as I type. It will probably be weeks before the room is really done, so though I will do a big reveal post, I will also have to torture you all with the minutia that is my progress.
In case you're just joining or are just paying attention to the peculiar words I use, "the ballroom" is the pet name our big girls gave the 1000+ square foot room in our house that the previous owners created in order to host their daughter's wedding in the mid-80s. It features 10' ceilings, parquet wood floors, a wall of windows, five sky lights, interior plate-glass windows (because of the courtyard-to-ballroom transition), and four antique columns. It was also covered in flat blue paint, which was a might better than the screaming peach that came before it. It is a unique room to be sure. The downer is it has been largely useless for us, except when we host parties. It's an excellent party room.
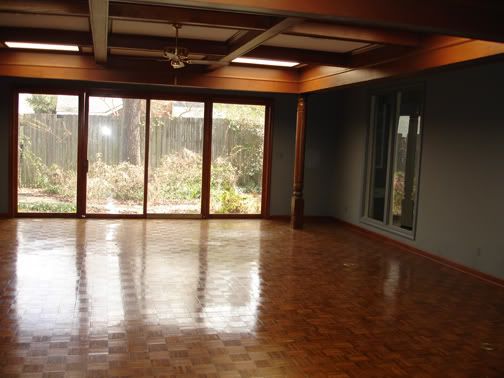
^That's from before we moved in. Now it's filled with junkola from Christmas and my craigslist furniture hoard, as in:
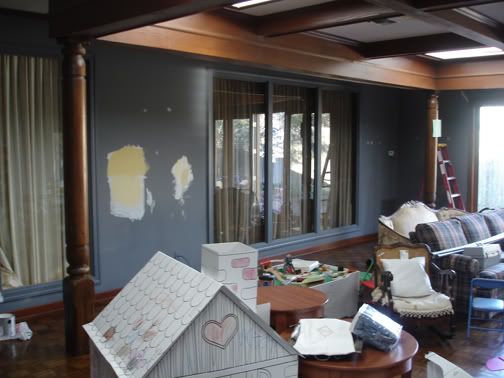
^That is so embarrassing, I can't even believe I am going to publish it. But you know what? That's what MBG does, y'all. She keeps it rill.
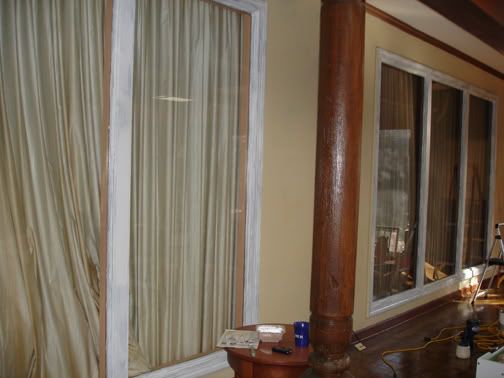
The first step in the makeover is to hide that flat blue paint under something fabulous. The specific fabulosity I am going for is light and bright. This is where Laura Ashley Pale Gold 2 comes in. Here it is after one coat of paint and two coats of white latex enamel on the formerly blue trim:
The blue trim has been an absolute hellbeast to cover. Here's a closer look, after two coats:
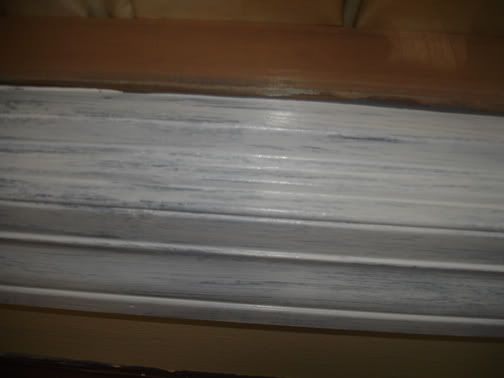
I know. It's awful. How many do you think it will take? Five? Seventy-four? It may be the sort of forever situation where I invite girlfriends over, hand them coffee and fruit cobbler, then trick them into the ballroom where I have paint brushes and little containers of trim paint. "So nice to see you, sweetie! Let's paint while we chat, mkay? I can't help but notice you've had two bites of cobbler in a row now. Less eating. More painting."
The gold is coming along nicely. I think one more coat plus spot touch-ups will be just right. The room already feels way more G-like.
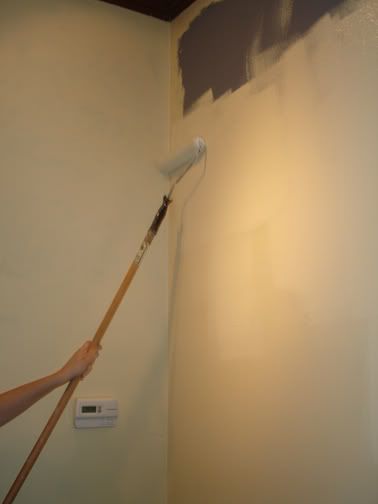
^Those 10-foot ceilings really kept me on my toes, even with the pole extender.
Here are just a few tips in case you're really needing advice from someone who doesn't know what the hedes she's talking about. Actually, when it comes to painting, my grandpa taught me everything I know. He was not a professional painter either, so we're really back to the non-expert point of view. He's old and frail, but if you want to critique his wisdom, you do what feels right in your heart.
The necessary tools. Er, other than paint, roller, roller extender, ladder:
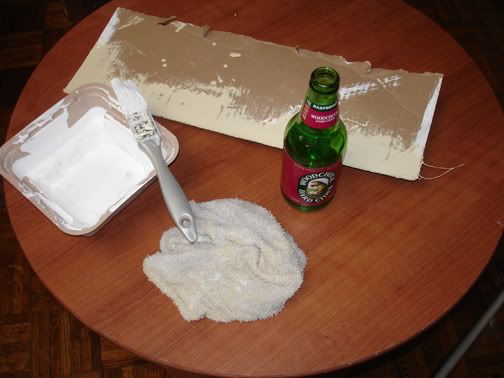
1. A little container for dipping your trim and cut-in brushes into. So much easier to carry around than a big honking gallon!
2. A cheap, pliable trim brush. I do not tape when I paint. *clutch pearls* Did you know that professional painters typically don't tape? I say typically because for every Wesley Snipes, there is a Woody Harrelson out there ("White Men Can't Jump" reference), but generally speaking... no tape. I dip my brush in, smoosh the tip--official paint jargon happening here--and go for it. And that brings me to...
3. An old damp cloth. Water is like kryptonite to latex paint. If you really want to bring Superman down, it's the only way to go. Just remember to act quickly. Latex paint is easy peasy to rub off as long as you don't leave it sitting to cure.
4. A cardboard (or plastic) guide for trimwork and cut-ins. I used my cardboard as an assist when I was painting around the wall of windows.
5. Woodchuck Hard Cider, or your adult bevvie of choice.
What I've learned today is that our friend C's dad is always right. BG and I bumped into him in the home improvement store last weekend and mentioned our plans. He said, "My dad used to say, 'Painting only feels good after it's done.'" I'm pretty sure I'm messing that up, but you get the idea. The process totally sucks, and the more I paint, the more burdensome it feels. But dang does it change a room in the best of ways.
Now if you'll excuse me, I need to apply Bengay to my spaghetti arms and screaming hamstrings. Oof.
I'm so proud of you I'm considering painting a room myself. Just about every room in our house needs a little somethin somethin that wasn't done correctly the first time.
ReplyDeleteYou're doing such a great job! I rilly love the new color. It'll be fantabbo when it's all done.
ReplyDeleteThe adult bevvie is rilly a key component that is often overlooked. We went through gallons of mandarin orange Bacardi Ice when we painted the house before moving in.